So, you’ve decided to learn Web Development. First off—congratulations! You are embarking on a journey that can literally change your career and life. But I know what you’re thinking: "Where do I even start?"
Don't worry. We aren't going to worry about complex algorithms or servers today. Today is about two things: getting your tools ready and understanding the "Skeleton" that holds every website together.
Let’s crush Day 1.
Step 1: Setting Up Your "Cockpit" (VS Code)
Every craftsman needs tools. For web developers, our hammer and chisel is the Code Editor.
While there are many options out there, roughly 75% of web developers use Visual Studio Code (VS Code). It’s free, fast, and powerful.
- Download it: Go to code.visualstudio.com and download it.
- Install it: Run the installer (default settings are fine).
- Open it: You’ll see a welcome screen. Don’t panic! You only need to know one thing right now: File > Open Folder.
Pro Tip: Create a folder on your desktop named Web-Dev-Journey. Open that folder in VS Code. This is your new home.
Step 2: Your First File
In your new folder, look at the "Explorer" on the left side. Click the "New File" icon (it looks like a paper with a plus sign) and name it:
index.html
Why index? Because web servers look for this specific file name to start your website. It’s the front door to your app.
Step 3: The Skeleton (HTML Structure)
Before we write content, we need a structure. Every HTML page works like a human body: it has a Head and a Body.
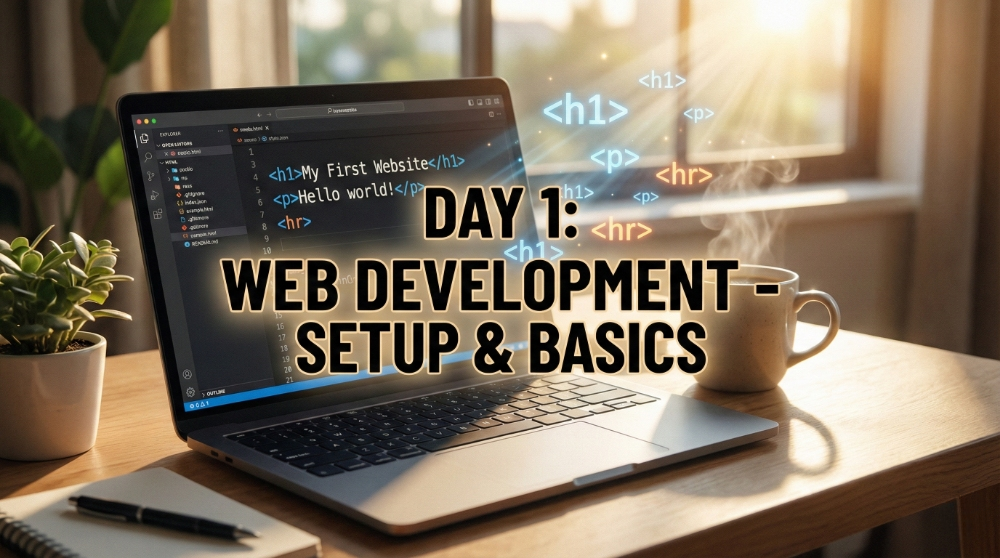
Copy this code into your file. This is called "Boilerplate"—the standard template for every website.
HTML
Document
What does this mean?
: This tells the browser, "Hey, I am using modern HTML5 code.": The container that wraps everything.: The Brain. This contains settings, SEO info, and the Page Title (what you see in the browser tab). Users do not see this content on the page itself.: The Visible Body. This is where we put images, text, and buttons. If it’s not in the body, the user won't see it!
Step 4: Speaking the Language (Content Tags)
Now that we have a body, let's put some content inside it. We use "tags" to do this. Tags usually come in pairs: an opening .
1. The Headings (H1 to H6) Think of these like newspaper headlines.
: The Main Title. You usually only have one per page.to: Sub-headings. They get smaller and less important.
2. The Paragraph (P) This is the meat and potatoes. Whenever you have normal text (like what you are reading right now), you wrap it in a
tag.
3. The Horizontal Rule (HR) This is a "self-closing" tag (it doesn't need a partner). It draws a horizontal line across the page.
Let's Write Some Real Code!
Delete everything in your file and paste this. Notice how the content tags are inside the tags?
HTML
  My First Site


  My First Website


  About Me
  Hello world! My name is Nouman, and I am learning to code.

  My Goals
  I want to build amazing websites and apps.

  Things I like:
  Coffee, Coding, and Video Games.


  Copyright 2025 - Day 1 Complete!
How to See It?
To see your work, go to your desktop folder, find the index.html file, and double-click it. It will open in Chrome (or your default browser).
Boom. You just built a properly structured website.
It might look simple now, but every massive site—from Facebook to Google—is built on this exact same "Skeleton."
Tomorrow, we style it. See you on Day 2!