You absolutely crushed Day 1 by setting up your tools and building the core HTML structure. We established the as the visible container for all our text (
,
, etc.).
Before we dive into creating a separate CSS file to make the entire site look amazing, we need to master a few more crucial HTML elements. After all, what good is a website if you can't show a picture or organize a list?
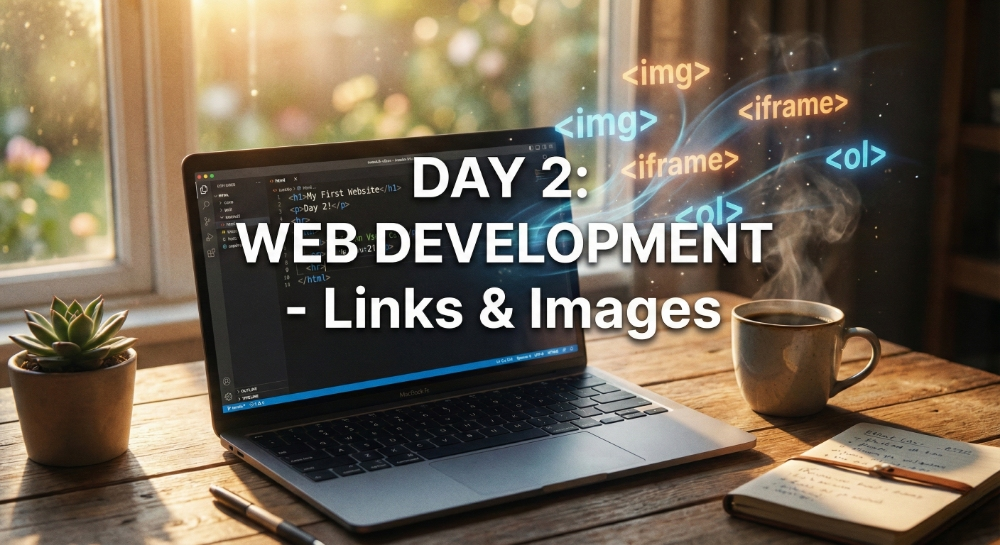
Today is all about making your index.html file richer and more functional. Let’s crush Day 2!
Step 1: Adding Rich Media (Images and Videos)
Text is great, but the web runs on media. Here are the two tags you need to start embedding external content.
1. The Image Tag (![]()
The image tag is another one of those self-closing tags (it doesn't need a partner). It doesn't contain content; it simply points to a file or URL.
HTML
My Favorite Photo

Crucial Attributes:
src: The source. This tells the browser where the image file is located (a file path on your computer or a web URL).alt: The alternative text. This is non-negotiable professional practice. It describes the image for visually impaired users and is vital for SEO if the image fails to load. Always include analtattribute.
2. Embedding Content (The
The (Inline Frame) allows you to embed entire other HTML documents—like a YouTube video, a Google Map, or a Tweet—directly into your page.
HTML
A Video I Like
Pro Tip: You rarely type this from scratch. YouTube and other services provide an "Embed" button that gives you the exact
code to copy and paste!Step 2: Organizing Your Data (Lists)
Websites are full of lists: navigation links, to-do items, shopping cart contents, etc. There are two primary types of lists, both of which use the same sub-tag: the list item (
).1. Unordered Lists (
)These use bullet points. They are perfect for lists where the order doesn't matter (like features or hobbies).
HTML
Things I like (In no particular order):
- Coffee
- Coding
- Video Games
2. Ordered Lists (
These use numbered items. They are essential for instructions, rankings, or steps where the sequence is critical.
HTML
My Web Development Setup Steps:
- Install VS Code
- Create a Web-Dev-Journey folder
- Create index.html
Step 3: Your First Taste of Styling (Inline CSS)
Up until now, our text has been the default black color and size. We are going to change that!
When you want to apply a style only to a single, specific element right now, you can use the style attribute. This is called Inline Styling.
In the example below, we add the style="" attribute to our tags:
HTML
    This Heading Is Blue!


    This paragraph is larger and green.


    This paragraph is still boring default black.
What did we just do?
- We used the
styleattribute. - We declared the CSS property (
color,font-size). - We gave it a value (
blue,20px,green). - We separated multiple styles using a semicolon (
;).
The Final Day 2 Task
You now control the content, the media, the organization, and the basic look of your page. High-five!
Tomorrow, on Day 3, we will dive deeper into inline styling to fully grasp the properties and values you can change. Then, on Day 4, we will finally create a separate CSS file to apply styles to hundreds of elements at once, which is the professional and scalable way to build any modern website.
See you on Day 3!