In Day 3, we explored the visual power of CSS properties like backgrounds and borders. However, we applied them using Inline Styles—a method I explicitly flagged as an architectural dead-end for production applications.
Today, on Day 4, we fix that.
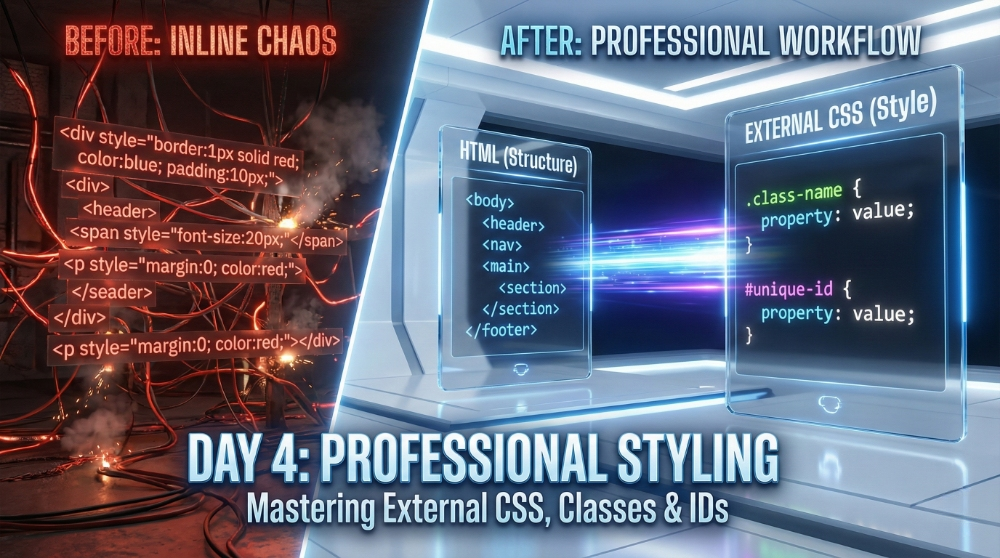
In a professional environment—whether you are building a static portfolio or a complex Angular application—we adhere to the Separation of Concerns principle. HTML handles the structure, and CSS handles the presentation. To achieve this, we move our styles into dedicated files and target our HTML using Classes and IDs.
This is the exact workflow used in enterprise software development. Let’s construct a scalable foundation.
Step 1: The Architecture (External CSS)
Instead of writing CSS inside your HTML tags, we create a separate file, typically named style.css. We then link this file to our HTML document.
This approach offers two critical advantages:
- Maintainability: You can control the look of an entire website from a single file.
- Performance: Browsers cache this file, loading your pages faster on subsequent visits.
The Implementation: Inside your section, add the tag:
HTML
Day 4: Professional CSS
Step 2: The Workhorse (CSS Classes)
A Class is a reusable identifier. It allows you to define a specific style once and apply it to as many elements as you wish. In CSS, we target classes using a dot (.).
Use Case: Buttons, card containers, list items, or any repeating UI element.
The CSS (style.css):
CSS
/* Define the style once */
.primary-btn {
    background-color: #0056b3;
    color: white;
    padding: 10px 20px;
    border: none;
    font-size: 16px;
}
The HTML (index.html):
HTML
Architectural Note: If I decide to change the button color to red, I only need to change the Hex code in the .primary-btn class in the CSS file. All three buttons update instantly. This is the power of the DRY (Don't Repeat Yourself) principle.
Step 3: The Specialist (CSS IDs)
An ID is a unique identifier. Unlike classes, an ID must be unique within a page—you cannot have two elements with id="header". In CSS, we target IDs using a hash (#).
Use Case: Structural anchors like the Main Header, Footer, or a specific Hero Section.
The CSS (style.css):
#main-header {
    background-color: #333;
    color: white;
    padding: 20px;
    text-align: center;
}
The HTML (index.html):
HTML
Future Door Dashboard
Step 4: Putting it Together (The Professional Workflow)
Let’s combine these concepts into a clean, professional snippet. Notice how the HTML remains clean and readable, while the heavy lifting happens in the CSS.
HTML :
Basic Plan
Pro Plan
CSS:
#pricing-section {
    background-color: #f9f9f9;
    padding: 40px;
    border: 1px solid #ddd;
}

.card {
    background-color: white;
    border: 1px solid #ccc;
    padding: 20px;
    margin-bottom: 20px;
    width: 300px;
}

.buy-btn {
    background-color: green;
    color: white;
    padding: 10px;
    width: 100%;
}
⚠️ Architectural Insight: Naming Conventions
As a developer, naming things is often harder than writing the code.
- Avoid visual names: Do not name a class
.red-text. If you redesign the site and make that text blue, the name.red-textbecomes confusing and incorrect. - Use semantic names: Name the class based on its function, like
.error-messageor.highlighted-text.
In my work with Ionic and Angular, consistent naming conventions are critical for team collaboration.
Next Steps: The Box Model
You have successfully separated structure from style. You now possess the mechanism to build scalable applications.
Tomorrow, on Day 5, we will tackle the most misunderstood concept in web design: The CSS Box Model (Margins, Borders, Padding, and Content). Understanding this is the key to fixing layout issues where elements don't sit where you expect them to.
See you on Day 5.